Getting the Best Out of Your PDFelement PDF Editor
PDFElement is one of the best PDF tools on the internet at the moment. It allows you to work with PDF files efficiently, leaving you with finished PDF documents of excellent layouts and appearance. It is also fast, secure, and cheap. Among other things, you can do the following with the PDFElement software;
- Open, save, print and markup PDFs;
- Add new or adjust existing graphical elements present in the PDF file;
- Protect your pdf file with a password
- Convert your pdf files into other formats, including image, text, HTML, and Word files;
- Design an interactive form field, and identify an existing form field automatically;
- Export extracted interactive PDF form data in CSV format;
- Add page elements and numbers;
- Add signatures or approve documents digitally;
- Use OCR to unlock texts embedded in images;
- Carry out OCR on certain user-defined fields, especially in scanned PDF documents;
- Perform batch processes such as watermarking, data extraction, conversion, and addition of bates number.
|
|


If you are using the PDFElement for the first time, you would need to get used to the workspace first. Users will enjoy the simple-to-use and user-friendly interface of the software, which includes a work area, a navigation panel, a menu bar, and a toolbar.
Here are the top six things you can do with your PDFelement software:
A. Edit Text or Images In Your PDF Files Without Losing Quality
B. Convert PDF File to Different Formats Like Excel, Word, EPUB, HTML and So On
C. Fill & Create Fillable PDF Forms in Minutes
D. Use Annotation to Add Notes to a PDF File
(a). Edit Text or Images in a PDF File
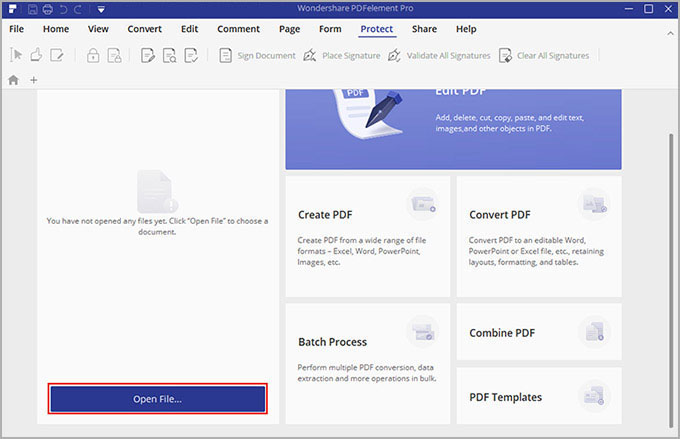
Step 1: Open PDF file with PDFElement
Start by importing the files you want to edit. You can do this by choosing the OPEN FILE option found at the bottom of the screen. This will allow you to upload the PDF file(s) to be edited.
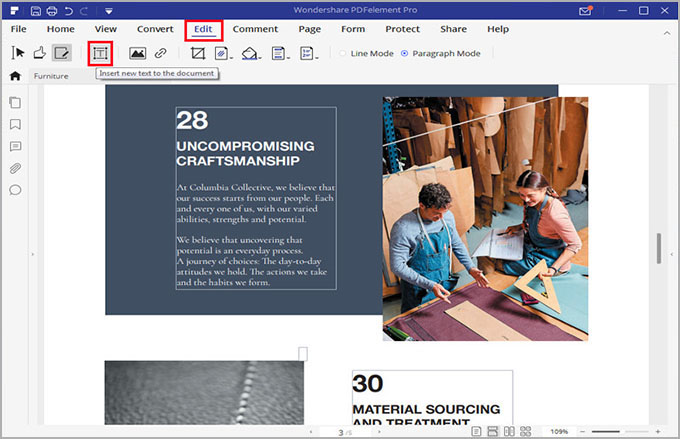
Step 2: Edit Text in a PDF File
Now to edit texts or images in the uploaded file(s), check the EDIT tab in the top menu and locate the EDIT TEXT option. Next, double click on the text you wish to edit and type in the replacement text. The feature also allows you to set the size, color, and type of fonts.
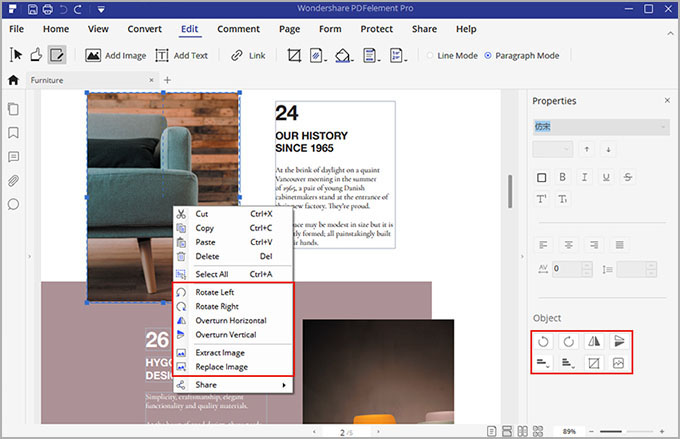
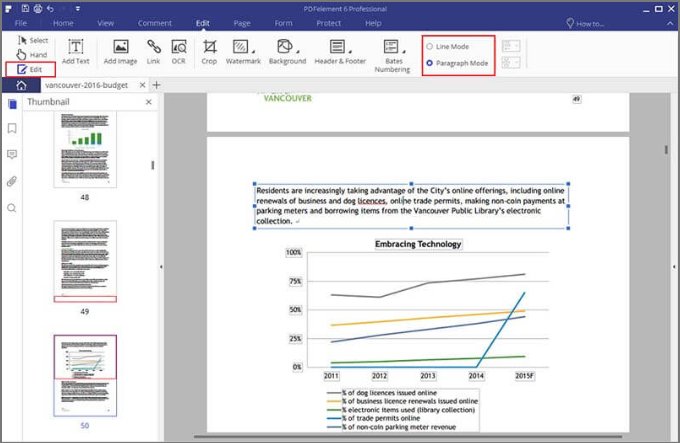
Step 3a: Editing Images in a PDF File
If you are editing an image, activate the image editing mode by clicking EDIT under the EDIT tab. Now, right click on the image and choose any of the options presented, including cut, paste, or copy. You can also position, adjust the size, or delete the images.
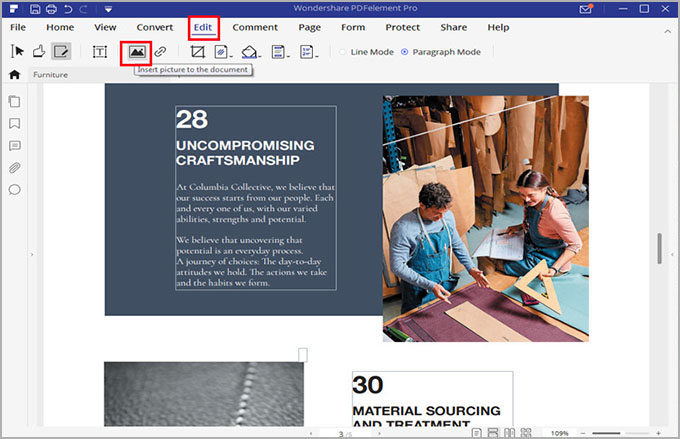
Step 3b: Adding Images to Your PDF
You can also add new images in the file; just choose the 'ADD IMAGE' option and select the images you wish to add. The images will first be imported, after which you can position them as you wish.
![]()
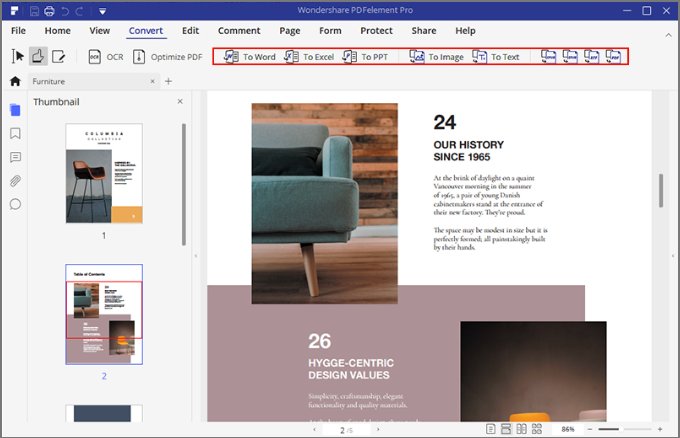
(b). How to Convert a PDF File to Different Formats
Step 1: Add PDF Files to Convert
Start by adding the PDF files you want to convert. You can do this by choosing the OPEN FILE option found at the bottom of the screen. This will allow you to upload your file(s).
Step 2: Make Changes to Your PDF's (Optional)
You may wish to make modifications to the uploaded files. You can do this by using any of the editing options provided. You can also check under the EDIT tab and choose EDIT to modify any text or graphical elements contained in the file.
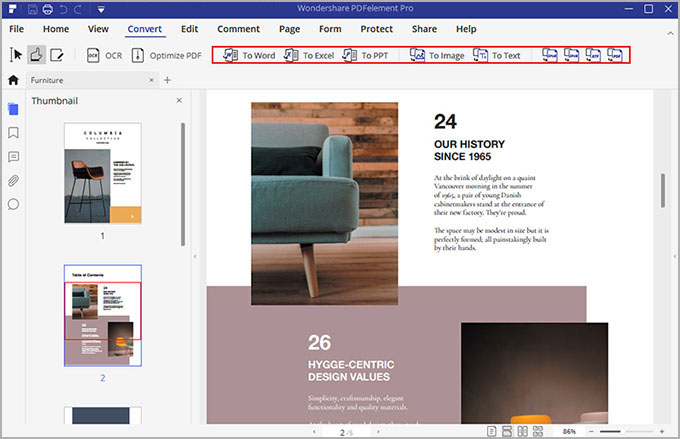
Step 3: Convert PDF to Various Formats
PDFelement supports the ability to convert multiple PDF files to various other formats. Navigate to the "Home" tab and choose an output format from the submenu. A conversion box will appear with different settings for conversion. You can change output format and select destination folder. Once you are satisfied with the settings, click "Start".
![]()
(C). Creating Fillable PDF Forms
Step 1: Click 'Create PDF' Button
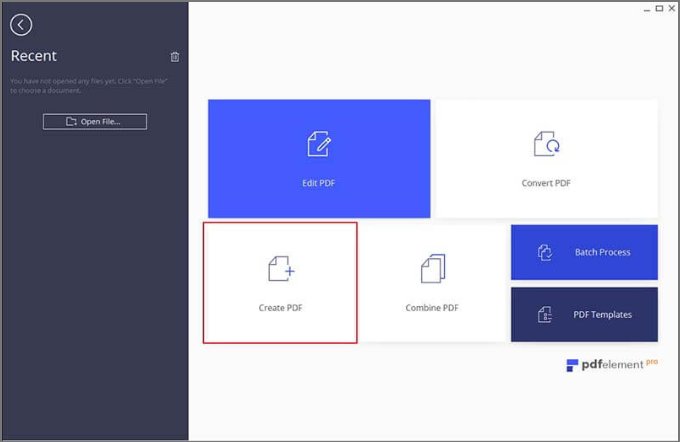
You can create a PDF form from Templates, rather than building one from scratch. Find the CREATE PDF button on the Home window. Alternatively, you can just go to the HOME tab and click the FROM FILE to load your form. You can also create a blank document by clicking on NEW under the FILE tab.
Step 2: Start Creating a PDF Form
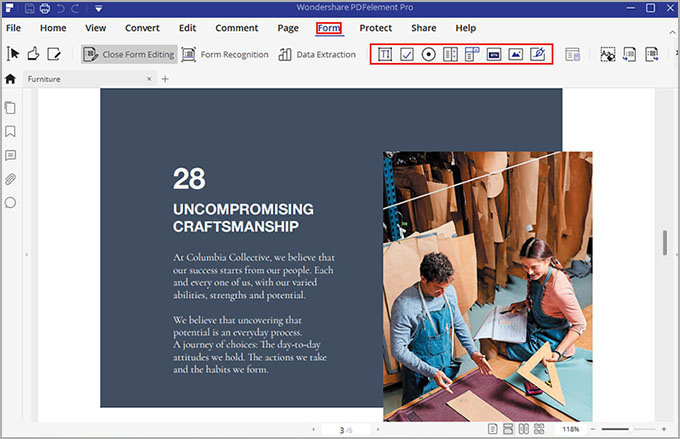
To create a Fillable PDF Form, proceed to the FORM tab, under which you can find all the interactive form field options. Select the EDIT FIELD option to build a new fillable form. Now, click the FORM FIELD TOOL, after which you move your cursor to that part of the PDF page where you want the interactive field to be. Once the interactive field has been created, double-click the field. This shows you the properties dialogue box, where you can make some adjustments like naming the checkbox and changing its style, colors, and appearance, among others.
Step 3: Add Information to Your Form
You can also add text to your PDF file. Simply click on ADD TEXT under the EDIT tab, then move your cursor to that part of your PDF form where you want the text to be and click. To preview the PDF form you have created, go to the FORM tab, and select the CLOSE FORM EDITING option. This saves your PDF form and presents you with a complete form.
![]()
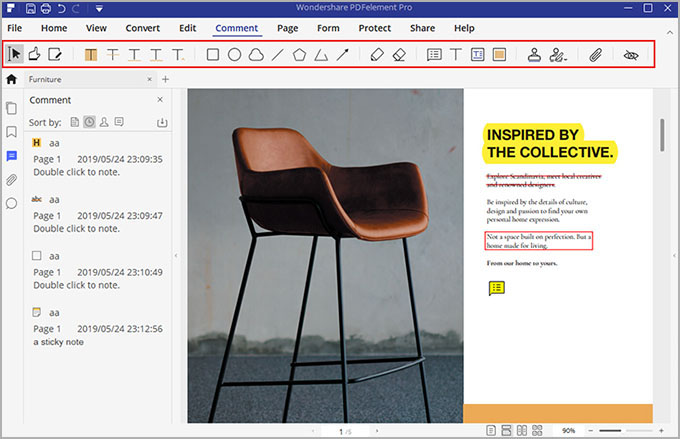
(D). Annotating a PDF Document
Annotation can be in the form of adding sticky notes; highlighting, underlining, and striking-through; or adding a text box.
Step 1: Adding Sticky Notes
To add sticky notes, click COMMENT > NOTE. Then move your cursor to where you want the comments to be added and click. You will see a yellow box labeled “STICKY NOTE,” and the editor and time will pop up on the side of your document.
Step 2: Highlight, Underline, Strikethrough
If you want to highlight, underline, or strikethrough, choose HIGHLIGHT instead of NOTE under the COMMENT tab. Now proceed to select the text you wish to highlight, and this will change the background of the highlighted text to yellow. You can change the color and opacity by right-clicking on the highlight and clicking PROPERTIES.

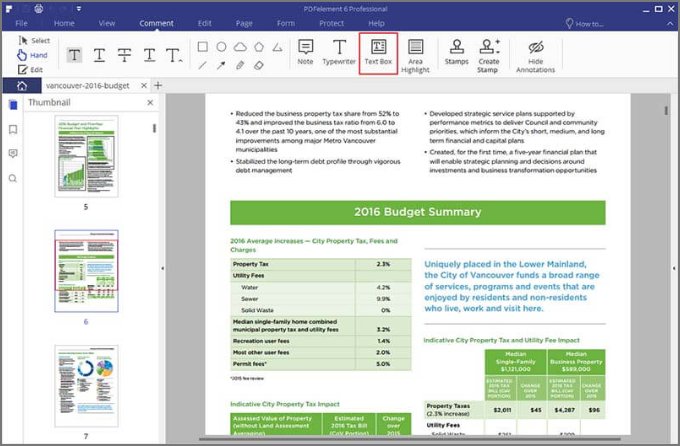
Step 3: Add a Text Box
To add a text box, choose TEXT BOX under the COMMENT tab. Now select the area you wish to place the text in your document. The color of the text and the box itself can be changed – simply right click and select PROPERTIES.
![]()
(E). Split or Merge Your PDF Documents
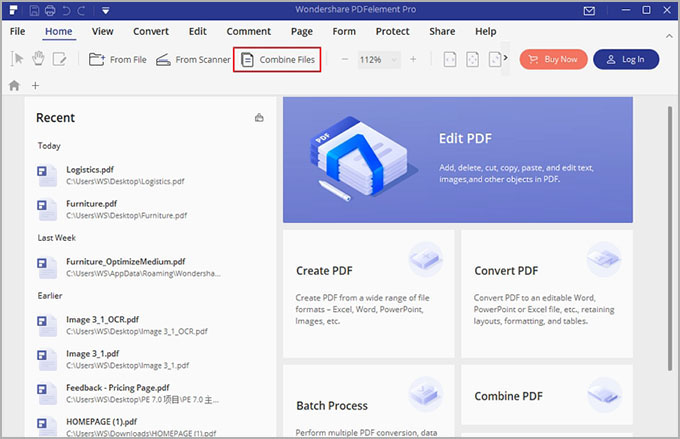
Step 1: Import the PDF File
Start by opening your PDFElement application. Now, drag and drop the PDF file you wish to work on into the program – this opens the file.
Step 2: Merge Your PDF Files
To add other PDF files (in the case of merging), click on the THUMBNAIL tab to access the thumbnails of the page. Now, right-click a page and choose INSERT PAGE > FROM PDF. You will be presented with a pop-up window where you can choose a new PDF document you want to merge into the already-opened document.
Step 3: Split a PDF File
Alternatively, if you want to split, check the PAGE tab. There you have some options for managing the PDF pages, which can be used to delete, extract, replace, or change the orientation of the PDF pages. In this case, choose SPLIT to split the PDF file. The next pop-up window is where you choose the page numbers or top-level bookmarks you want to split. Click OK when you are done with the selection, and then you can check the output folder for the newly created PDF documents.

![]()
(F). Converting Scanned PDF documents to Word
You can use this application to duplicate images, formatting, and similar non-textual elements present in the original scanned document after you have converted the PDF documents into Word documents. This is made possible by the OCR plugin, which is also responsible for making the scanned documents editable. This feature is available in more than 25 languages, including German, French, and English, among others.
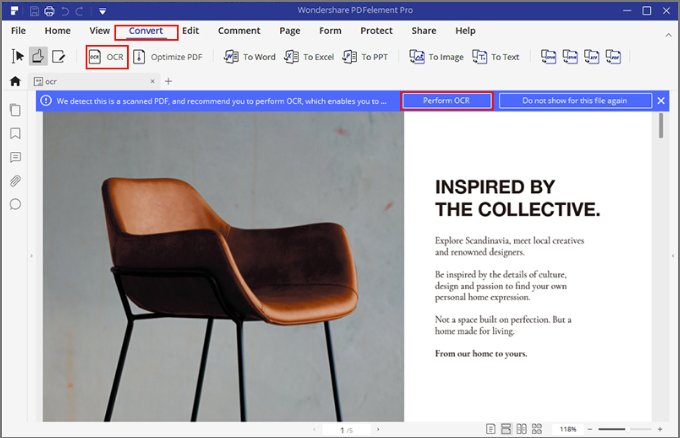
Step 1: Open the Scanned Document
To get started, launch the application and open the scanned PDF file from the OPEN FILE option.
Step 2: Go to OCR Settings
Once the file is opened, there is a notification bar at the top of the window that asks if you want to PERFORM OCR. The OCR function is required for the conversion of the scanned PDF document into an editable Word file. So, proceed to the FILE tab > PREFERENCES and in the OCR tab, choose the language of the text present in your PDF file.
Step 3: Convert Scanned File to Word
For the conversion of the scanned pdf file into a Word file, click on TO WORD option from the HOME tab. You will get a pop-up window; click on SETTINGS to ensure that you have chosen the ONLY SCANNED PDF option. Once everything is in place, click OK to start the conversion process. On completion, you have your Word file in the output folder.
![]()


Current Page: PDF Solutions » How PDF Editor Works